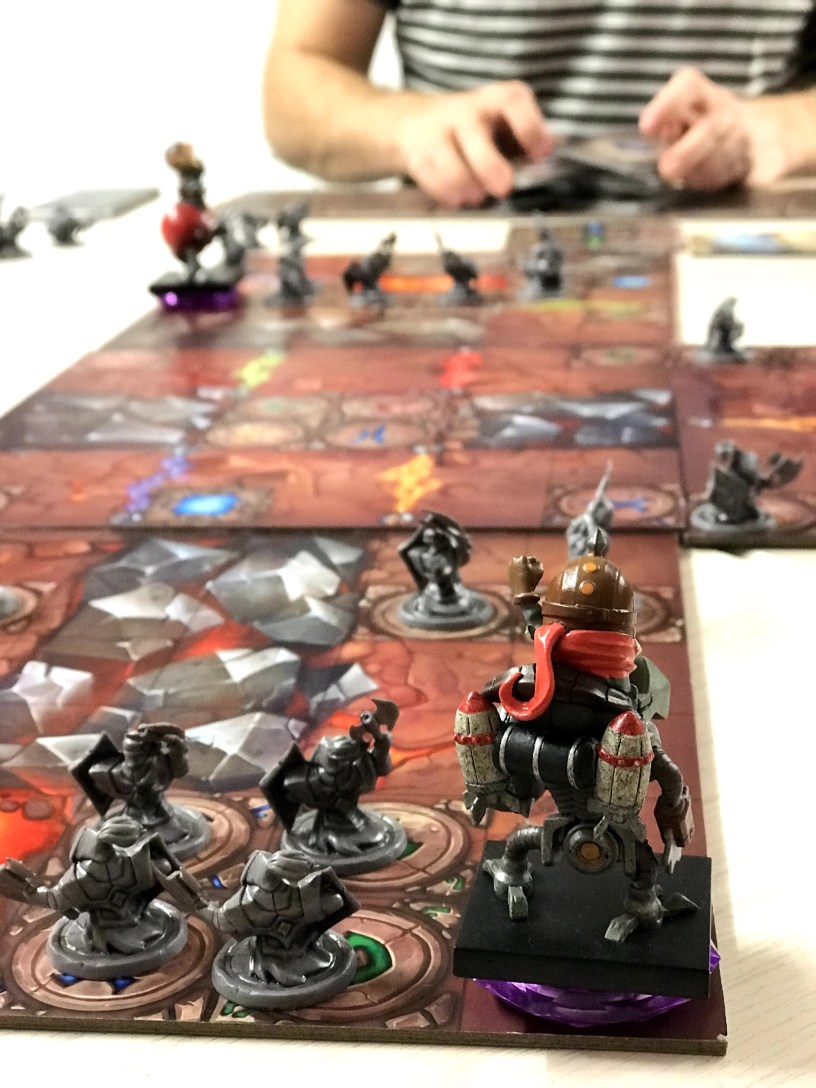
So – someone recently pointed out to me that the strategy tips I write assume you have some prior knowledge of the game. IF YOU DON’T – DON’T PANIC! The reviews I provide are designed to give you exactly what you need to know in order to start to think about these strategies. This is no happy accident – I pick games because of the types of strategies I can play and so the idea is that the combined review and tips here can really inform your choices.
So back to the table….
Given the ever expanding game mechanics and the campaign nature of this game – there is a lot that I could say which doesn’t apply to every mission. What I have tried to do below is stay focused to core game mechanics and things that will be relevant from early games to the end!
During the game:
Space at both ends: The single most important factor in this game is trying to keep flexibility – you need to control your board. You are going to keep executing this command line time and time again, so keeping space at the front and back of the line for as long as possible will give you a lot more flexibility. Okay, damage can come up anywhere but keeping these slots free means that you can turn or move or attack before anything else goes wrong!
Spinning Around: Don’t underestimate the spinning requirements. The ability to turn and move gets you out of trouble, gets you into the attack and gets you to the finish line. Being able to turn with the 3rd card level means facing any direction! Even at the second level the ability to turn 90 or 180 degrees gives a huge amount of flexibility compared to the basic single turn.
Shifting Types: During the course of the game you can stack a card on an existing card stack (in your command line) if it’s the same colour; if it’s not then it replaces the whole command line. Now sometimes this can remove a spin you no longer need or remove a move you want to avoid – yes it could mean losing two cards for a single card (or even three), but sometimes that is better than charging in or spinning out of control.
Repairing & Reprogramming: As your command line fills up the new cards you can draw become less helpful – you have the moves / attacks / spins you need. So then the challenge is to repair the damage you suffer or shift the command line to the situation you are now in. As you draw up cards you can use certain colours to remove damage (Blue & Red) and others to reprogramme, switching two of the card stacks in the command line (Yellow & Green). This can help you avoid the negative consequence of damage or change your moves to get to the end!
Glitch Defense: One common damage is to get a glitch – this will swap symmetrical positions in your command line (most commonly). The fact that this is commonly symmetrical is an advantage you can utilise – you can have a symmetrical command line such that this is not a significant negative – i.e. don’t put all your spins together and all your moves together (unless it’s in the middle).
Focus on the Goal: This is a mission based game – get yourself to the end goal. It sounds obvious but it’s important. The aim changes drastically based on the game so thinking about this at the start of each game is key. It’s often true that your plans will fail rapidly but this is a game that rewards a continued and gradual effort towards a goal.
Pushing over Towing: One common concept in the game is moving others and moving things! You can do this by pushing or by towing. When dragging or towing something however for every two movement you use – you and the item only move one! When you push, you push two and you / the object move two. This is far more efficient – so towing is a last resort!
Overdrive! Schematics!: Killing minions can often be a side show to the main quest, however sometimes you do this so much that you can get close to unlocking a schematic or even your overdrive. As you get close to these, there becomes a significant advantage to a push toward this. When this comes to schematics, I wouldn’t rush – however, when it comes to Overdrive, the bonuses are big. Probably the first few missions won’t use this, but once these kick in they are very helpful and worth pushing for!
Good luck!
